
Honey at 2805 featured my Banner with Lights on Potpourri Friday! Thanks Honey! Please head to her blog and post YOUR projects on her Potpourri Friday linky party!
Libby :)

 |
| I just love my new print to match my non-traditional Valentine's Day decor! I have a key and heart theme going in turquoise, brown and white. The background paper was found here from Far Far Hill....I just discovered this blog {AMAZING!} Freebies!!!!! And really AWESOME ones! The skeleton keys were found here at the Graphics Fairy. I first printed the "newspaper" print on cream cardstock, then printed the keys, then I made the saying in Word and printed! |
 |
| I had the frame already {bought it at last years neighborhood yardsale} and sprayed it with Krylon's Ocean Blue very lightly, and then I sanded it down to distress it. |


 |
| What colors are you using for YOUR Valentine's Day decor? Traditional or going outside of the box? |

 I also created two dessert stands! I used stands that I had made previously to hold Christmas decor. They are silver trays and candle sticks from the Dollar Store. I used E3000 to glue them together.
 |
| I primed them first so my acrylic paint would stick better |
 |
| After the primer dried. |
 |
| Sorry I don't have pictures of the painting process, but basical I just put down an all over color for the base, then painted in the patterns. I free-handed the prints. I honestly believe that you can NOT screw up animal print! |
 |
| Leopard print. |
 |
| Zebra print. |
 |
| My daughter can use these to hold jewelry or her tiny elephant collection...or I can totally steal them to use for parties! Do you like the animal print trend? Libby :) Linking To These Parties: Young and Crafty Too Much Time On My Hands A Little Tipsy Polly Want A Crafter? |
 |
| This is an $8 unfinished tray from JoAnn's {obviously, painted in this pic! AND used a 50% off coupon!} I put a light coat of white spray paint, then a coat of Krylon's Caramel Latte Metallic spray paint, then a light coat of black acrylic paint, and then I sanded it down for a distressed look. |
 |
| I used my cammie to cut out a deer head stencil and used vanilla acrylic paint. |
 |
| I also sanded down the deer head silhouette. I like it! Don't know where I'm putting it yet, but I do like it alot! My next tray was also from JoAnn's. It was on sale at 50% off so it cost 7 bucks. It was a finished tray, but I knew I wanted to do something on the bottom of the tray. I dug out some vintage looking stickers I've had for awhile and went to town. |
 |
| While deciding the pattern as I'm going along, I decided to make it a little personal. It's not really obvious and wouldn't mean anything to anyone else..... |

 |
| See the 4 and the four "H's?" Those are for our children {yes, all their names begin with H} See the April calendar? We were married April 30th, 1993. See the 30 and the 93? Uh-huh...and the "L," "C," and "W?" For my hubby and I's intials. I LOVE this tray. I LOVE that it holds a secret. I love that it includes me, the hubster and our babies....that brings me back to my two words of the year.....If I don't believe in myself and I don't have the courage to go for what I want, how in the hell can I set an example for these two???? |
 |
| I'm thankful that I have a very supportive husband, friends and children, but this is the year for me to take a chance and lead by example. My favorite motto that I like to spout to everyone is, "Fake it til you make it." Now I need to take my own advice! What is YOUR word of the year?? |

 |
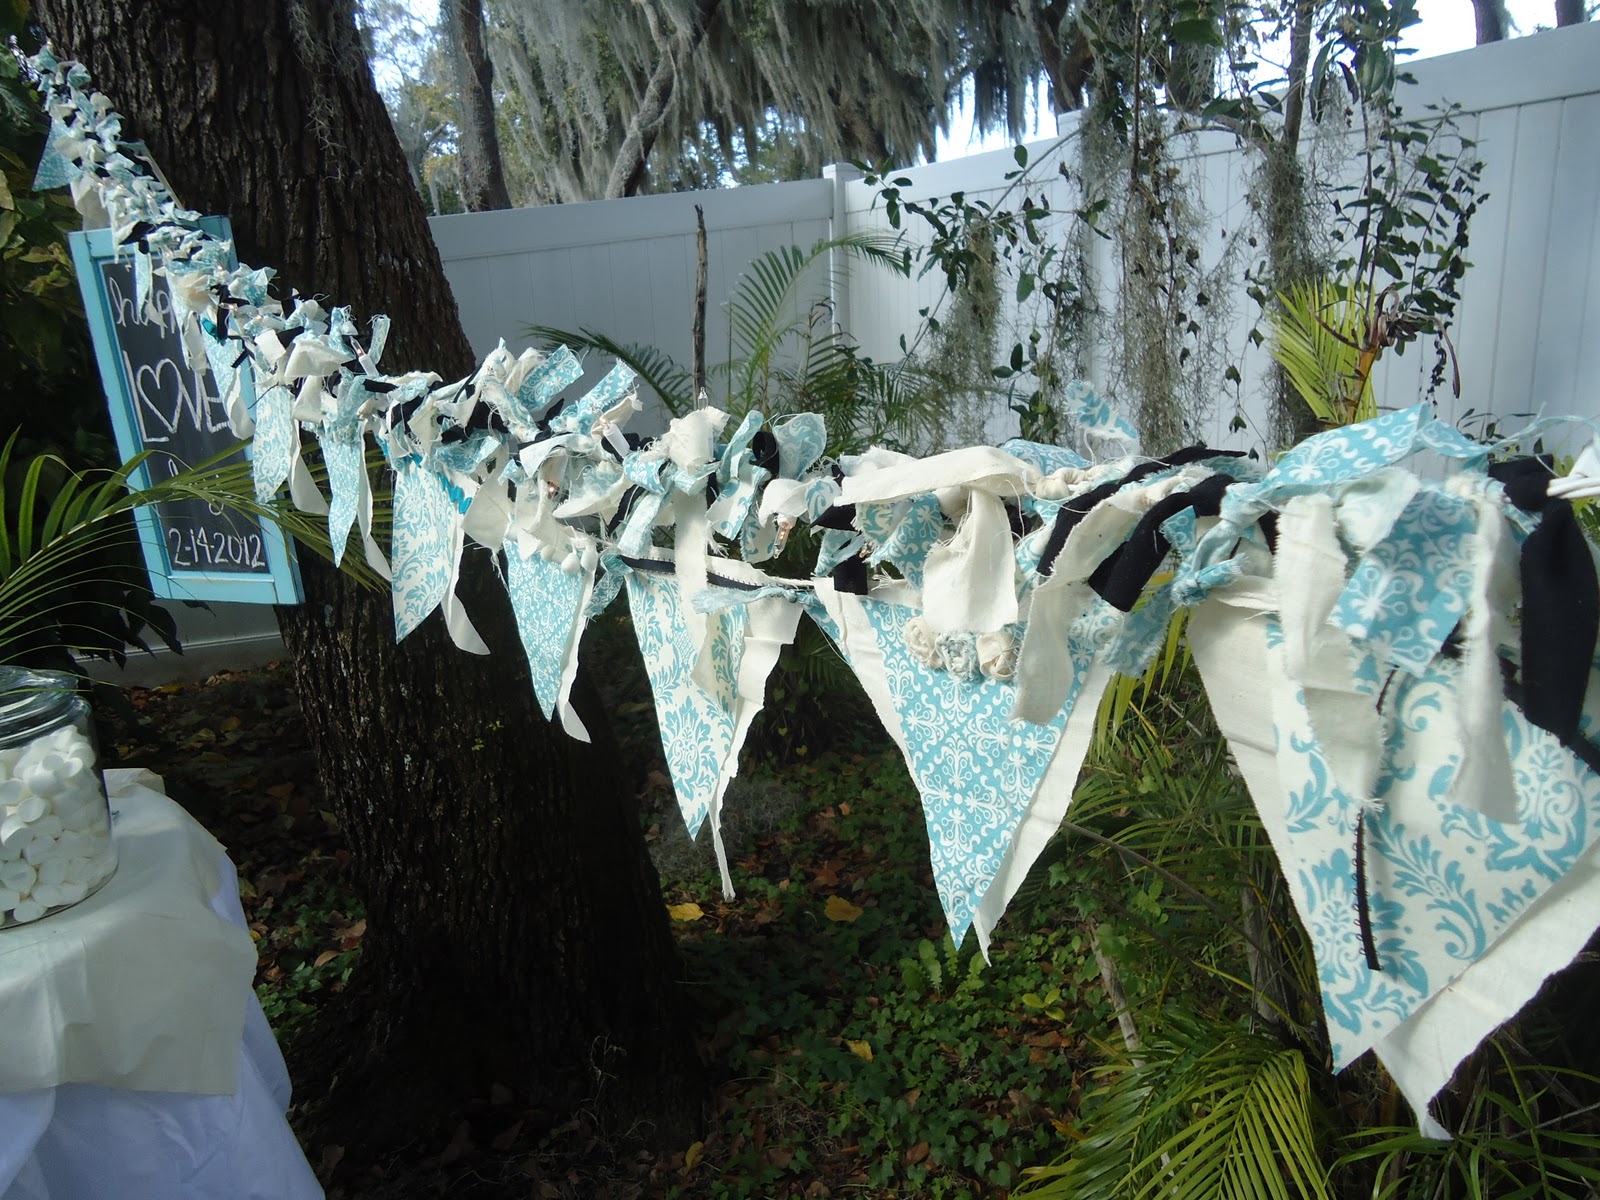
| My lights were left over from Christmas and I bought my material from JoAnn's. I'm just in love with this material, the color and pattern. I'm trying to figure out how else to use my leftover material! The black material is actually an old shirt of mine that was heading to Goodwill. I cut the black material into strips, but I just ripped the other fabric into strips so it would fray. |
 |
| I tied the strips of fabric directly onto the string of lights. It took me a good hour {okay, a couple of hours because I would get bored and take a break!} |
 |
| All finished with garland. So pretty with the lights! I think I may do this next Christmas! I've made this type of garland before, except it was on twine and I also added bells for our tree, but I'm loving the lights! |
 |
| On to the banners! I cut out two different sizes of triangles and laid them out in the order I wanted them to be on the banner. See that poor, dirty glue gun? That's my BFF. I hot glued the smaller triangles onto the muslin triangles {just the corners} and then I used turquiose ric-rac, cream pom poms and black ribbon to embellish the banner. This part took me about 20 minutes. |
 |
| I then glued the banner to cheap twine/string. |
 |
| I attached the banner by using left over strips of fabric to tie the banner to the lights {about every fourth banner}. I love it! |
 |
| It would be so cute at an evening get together hung outside or a sweet little vintage birthday party. |
 |
| My triangles aren't perfect and I didn't iron the material before cutting...I think it adds to it's shabby charm. |
 |
| Will you try making a garland like this? So many different possibilities! I think I'll make one with lights and fabric tassels!!! I'm off to find the perfect material...... |


 |
| Why yes, it does light up! Fun, right? |
 |
| Come back tomorrow and I'll show you how to make this garland/bunting/banner!!! Have a great Firday! |
 |
| The canvas is from JoAnn's. It was only $20 with a coupon {gotta love the coupons!} I used DecoArt's Buttermilk, Light Buttermilk and Chocolate acrylic paints to create an aged apperance. |
 |
| This is a close-up. Please excuse the crappy picture, I've lost my camera. |
 |
| I used my cammie {aka Silhouette Cameo} to cut out my numbers and I used painter's tape to stick the numbers on the canvas, except for the red numbers. For those, I used Mod Podge and didn't really care if the paper would stick a little bit since we have red EVERYWHERE in the house {which I'm really sick of and want to change when we move!} |
 |
| I spray-painted the canvas Krylon's Oil-Rubbed Bronze {my favorite BTW} Then, some people may have seen this as a craft fail, but believe me, I will confess a HUGE fail at the end of this post, but the tape marks are VERY visible. This did not bother me, I thought once I sanded it down that it added character....Some of the red did stay, even after sanding, but that's okay with me, I like it. Here it is hung up: |

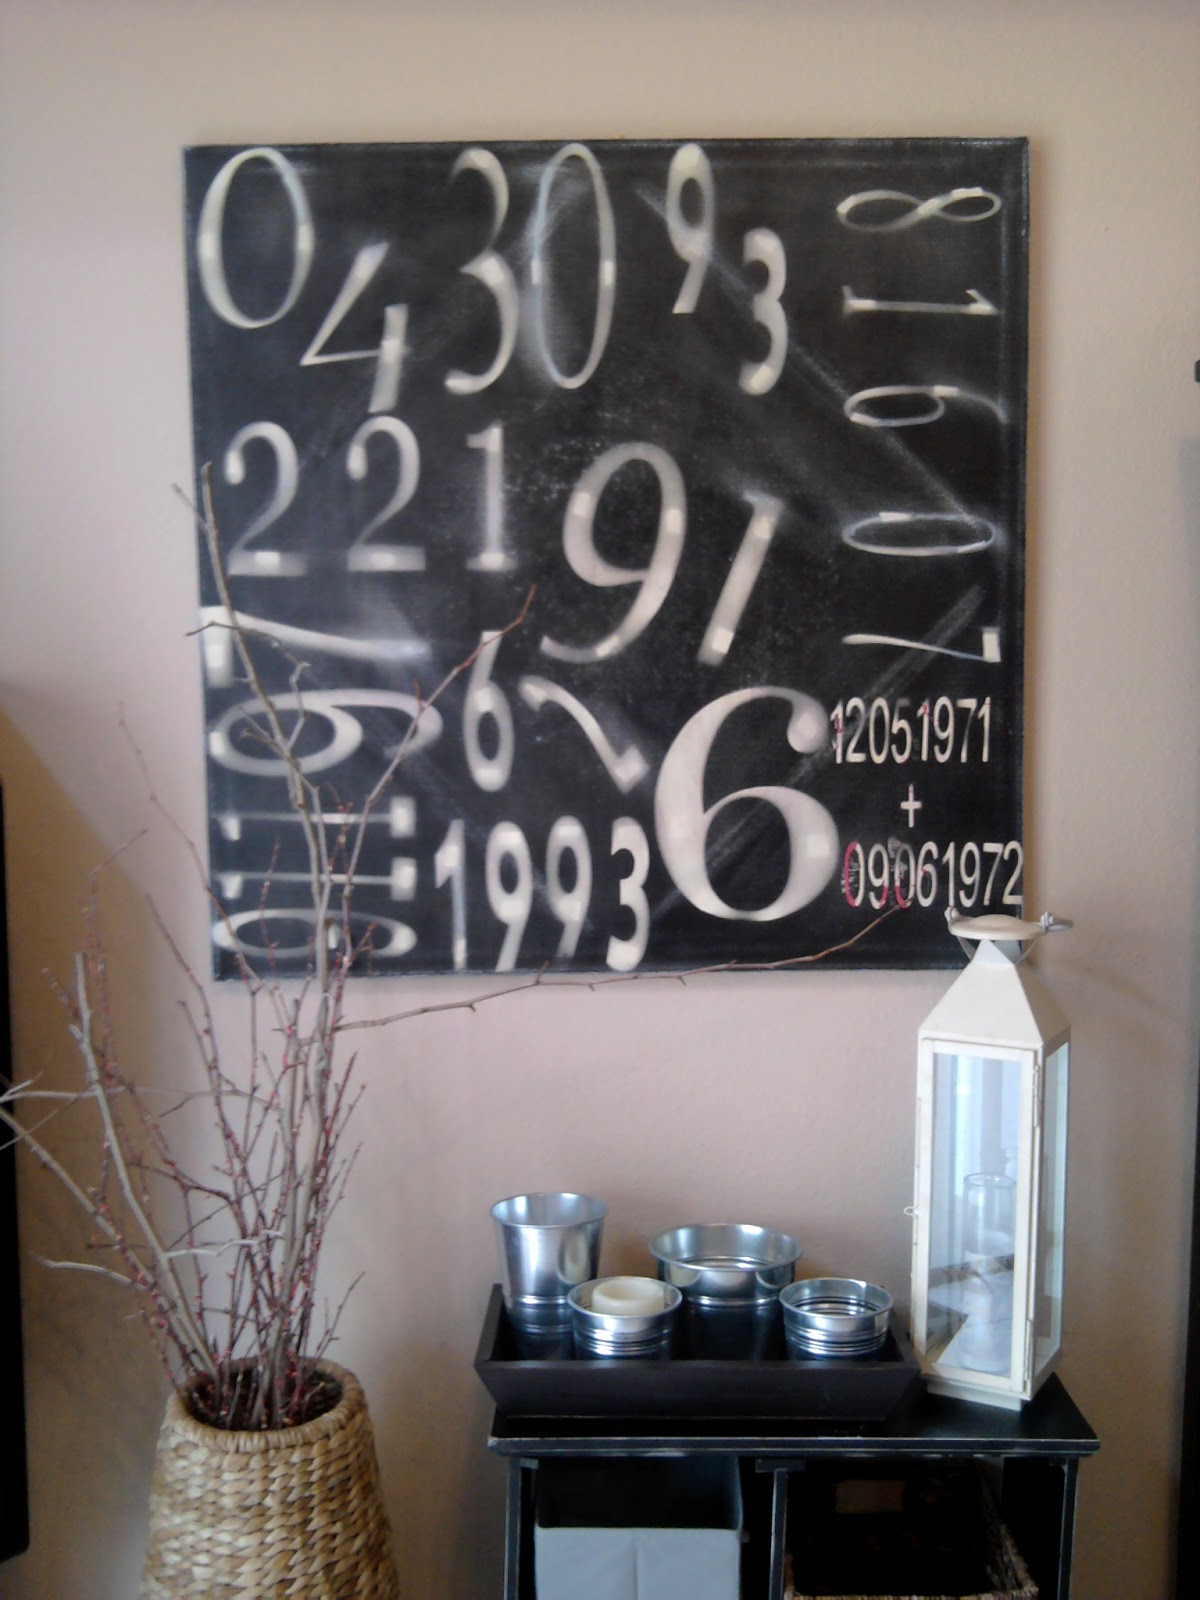 |
| It looks really great in our room and I was happy to take down the two pieces we had hanging there previously...red and green "cocktail" pictures in gold frames {ew.} Actually, they're not THAT bad, just not my taste anymore. So onto a confession......I'm really embarrassed to admit this.... BUT...oh geez...*GULP*....I got my youngest daughter, Hana's, BIRTH DATE WRONG!!!!!!!!!!!! What kind of mother DOES that?!?!?! See that BIG 97 on the left??? Yup...should be a 96. I did the same thing the other day making her a doctor appointment, said 97 instead of 96. EPIC FAIL! Poor Hana noticed it yesterday, but didn't want to tell me because she didn't want to hurt MY feelings! I feel like the worst mommy EVER. Perhaps I'm still trying to keep her young? Maybe because 11 and 97 rhyme?? UGH. Please tell me I'm not the only loser mom out there?? I'm going to go sit in a corner and cry. |

 |
I started with a chalkboard that I had made. It was originally yellow and I messed up one end and put the molding upside down. Yeah, I really did. Then I spray painted it white and smothered it in silver glitter blast. I thought covering it with vintage postcards would cover my mistake and look pretty awesome! After applying the postcards with Modge Podge, I distressed it with a Martha Stewart metallic glaze. |
 |
A close up of the details. I made sure to crease the paper in all the grooves of the molding and topped it off with some jute to give it a finished, vintage look. |

