Monday, September 17, 2012

TIME ZONE CLOCK.........Guest Post By Sarah B.

As in my last post, I explained that my BFF left me, abandoned me, ditched me....just kidding!  That's just military life and we get use to it (still sucks not having Sarah B. right here in the 'hood!).  Anyway, with her move, guess what?!?!  She has still found time to craft!  Now, after seeing her wonderful craft that she is blogging about today, I am motivated to get back into the swing of creating and crafting!  Thanks for the inspiration, Sarah B!

Time Zone Clock
Turning a craft fail into a win, thanks to my craft coach


 Do you have a loved one in a different time zone?  Have trouble remembering what time it is there when you want to call?  If you answered yes, then this easy craft is for you.
     
Very recently my family left Florida (and sadly our wonderful friends Libby and Cam) and moved to Iowa so that we would be closer to extended family during the next chapter in our military life.  My hubs, Steve, was going to Korea for his next assignment.  When I was still in college and dating my future husband, he had joined the Army and was living in Germany.  I had two cheap clocks hanging on my wall to tell the current time and the time where he was.  Korea is 14 hours ahead of us in the central time zone and I knew I wanted to have the two clock thing again.  So I came up with this craft.
    
 First, I found cute clocks at Walmart for only $3.97!
Score!

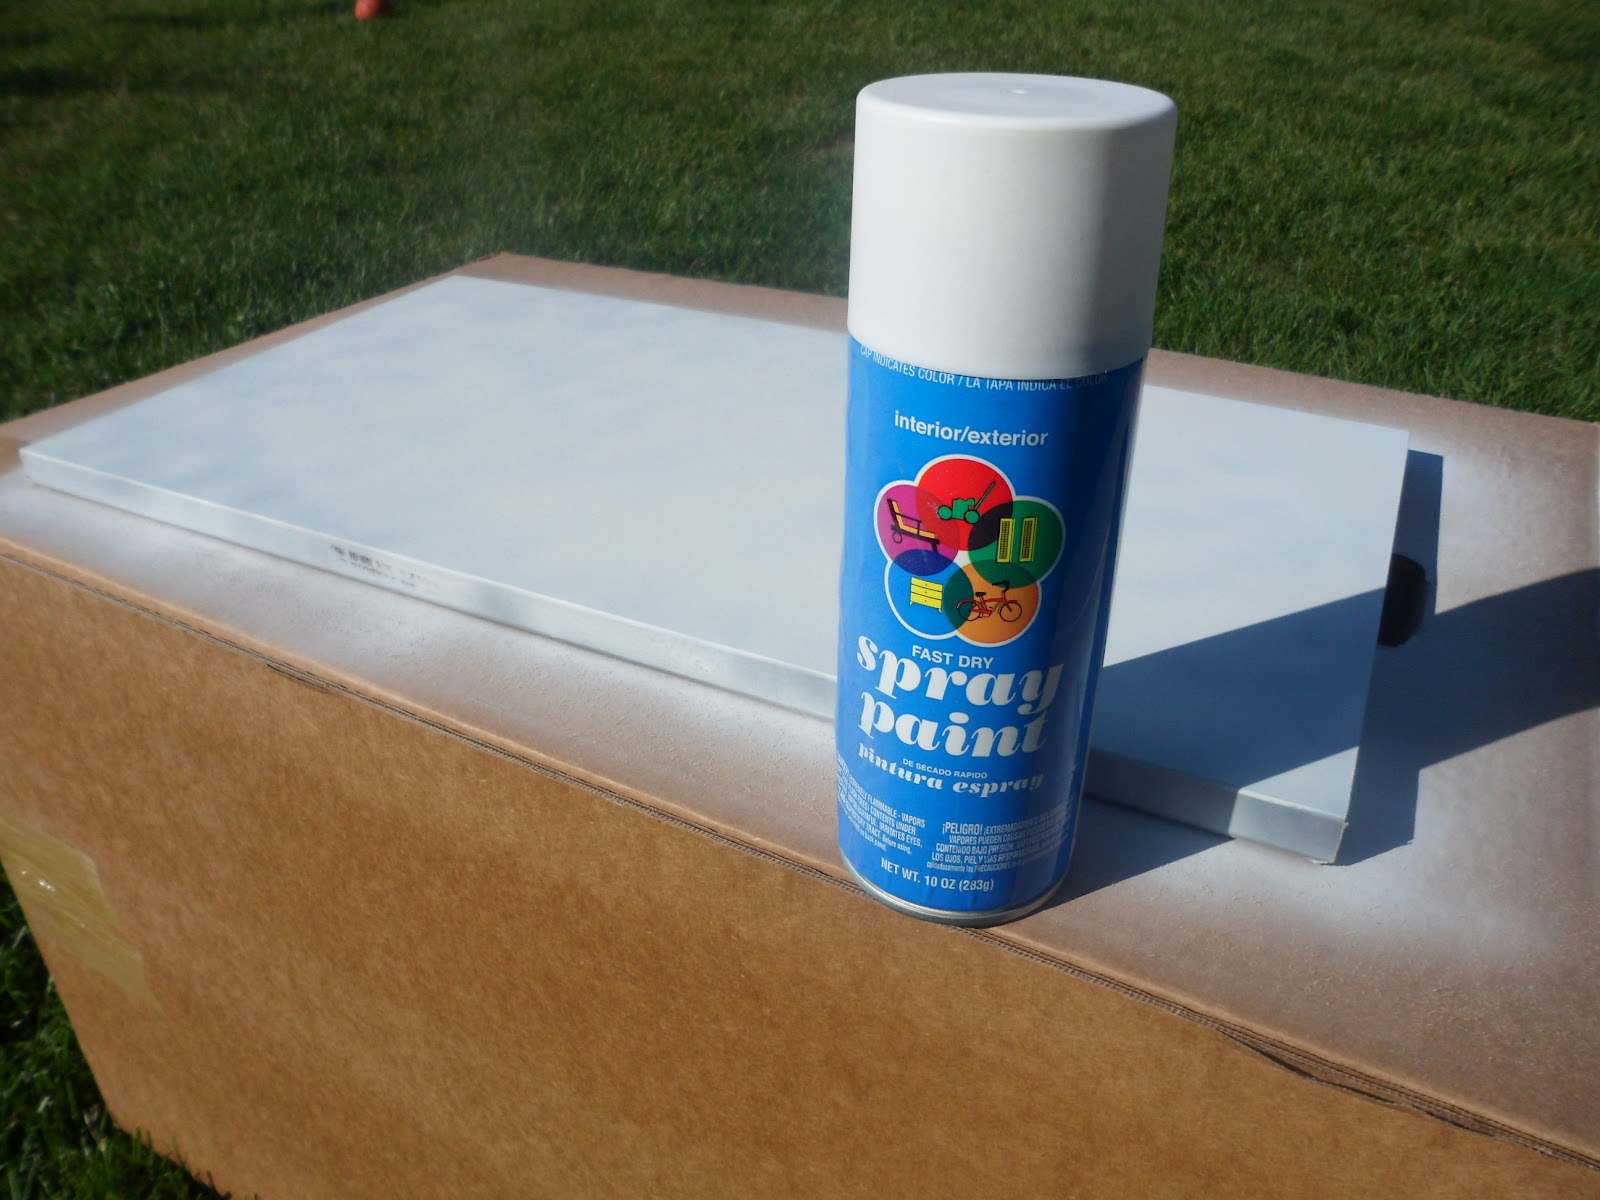
Next, I went to our glorious stash of boards from Ikea and found a board big enough to fit both clocks and cut it to size on our table saw.  I used a sanding block to sand the edges and here is where I SHOULD HAVE SANDED THE SURFACE of my board so the the spray paint would have adhered since my board already had a finish on it.  (If you are working with an unfinished wood board then you shouldn't have to sand it.)  I grabbed the only white spray paint we had, which was the really crappy cheap stuff from Walmart and sprayed the top and sides. 
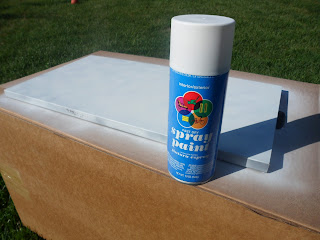
It left an uneven, cloudy-looking coat which I liked so I left it. 
     
Next, I used my Silhouette and some Con-tact paper to make a chevron stencil for painting the aqua color to match my living room. 

(Did you know you can use cheap, regular old con-tact paper in Silhouette or Cricut, just like vinyl?  It works like a charm, but make sure to test your cut setting so that you don't cut right thru it.  I had to dial my settings down to a thickness of 1!)  You can pick any kind of pattern and hand cut on paper or Con-tact or use painter's stencils from a hardware store if you don't have a craft cutter. 
    
After my chevron pattern was cut, I applied it to my board and pulled off every other zig zag to expose the space I wanted to paint.

See where the Con-tact lifted the paint?  Oops.  I shoulda sanded...  So, I think to myself, I'm not going to sweat this because that part will be painted aqua and covered by a clock.  It was only a little taste of what was coming.  I shoulda sanded the whole surface...
     
I crack open a beer at this point because, well, let's get real, drinking makes crafting more fun and easier (especially when things aren't going your way).  Am I right, people?
 
So I grab my board and aqua paint and head outside.  I scatter drips of delicious aqua craft paint on my board and then my neighbor pops out his backdoor and says, "Hey, Sarah!  I'm going to take this opportunity to finally introduce you to my wife."  I walk away from the globs of paint that I know will start drying in the sun and nice breeze and go to the fence to exchange pleasantries. 
Tick. Tock. Tick. Tock. 
      When we are done talking (very nice lady, btw), I quickly spread it around with my foam brush.  I can see rings of dried paint.  Argh.  I add a little more paint and it helps. 
 
OK, don't sweat it.  It's going to be sanded and roughed up to look weathered.  It'll be OK. 
      The paint dries quickly and I start pulling off the Con-tact.  Paint is peeling off with each strip.
 
Oh schnitzel!
I text Libby a pic titled "Complete *#$%  FAIL".  My 5yo daughter runs by and says, "Awesome, Mom!"  But I'm not feeling it.  I go inside and sip my beer while I wait for Lib to respond.  I keep looking at it in disappointment.  Sam Adams starts to convince me it kinda looks cool.  Libby texts, "Cam and I think it looks great.  We like the fail.  Turn your fail into a win!!!"   
 
OK, I'm going with it. 
      Now, I get my sanding block and go to town.  (Be sure to sand in one direction, with the grain.)  I'm now ready to position the clocks on the board to see where I want to place them.

Handy Tip:
An easy way to know where to hammer in a nail is to put a little dot of toothpaste on the hanger part of the object you are hanging.  Press it against the wall, or in this case, board and when you pull it back a little paste is left exactly where the nail should go. 
See the paste on the clock hanger?  See the paste right below the tube hole on the tip of the chevron peak?
 Sorry, it's hard to see.
Hammer in a nail and wipe off the paste.  Bam!
      I set the time on the clocks, then make labels/tags with my Silhouette and glue them under their respective clock. 
 
 
I'm pretty happy with it despite all of the little mishaps.  Moral of the story is to find the good in each situation.  Turn your fail into a win.  Be thankful for a positive friend that can make you look at things differently.  I'm so blessed to have a pretty kick-ass craft coach in my corner.

Thank you, Sarah B!  I love this idea of having two clocks...wish I would have thought of doing that while my hubster was depolyed for 19 months!  I just love how the chevron turned out, peeled paint and all!  Great job!!!  Any other military wives out there with a great idea like this?!?  Please share what you do during deployments....I would love to hear from you!

Libby :)
 Linking up here:
Making The World Cuter


Wednesday, September 12, 2012

BUSY...BUT NOT REALLY

Wow, so there have been some changes since I last posted about Hagan's Fake Birthday Party. First of all, my best Florida girlfriend, my homey, my partner in crime, my matching center, my other half-brain, Sarah B., moved to Iowa. Let me tell you....I am having a hard time getting past this...I miss her tons! Do I miss her because she was always the one to keep me informed on school issues? Yes. I wouldn't have known half the stuff going on last school year if it wasn't for her. Do I miss her because we used to go out, have a great time and dance like nobody was looking? Yes. Do those two things sound like something a great friendship is based on? Not really, but if I go on, I'll be sobbing and this post will take you a week to read. This sums up our friendship:I miss you Sarah B!

Second, Hagan had his actual birthday! My baby boy turned five years old, fo real dudes! His birthday was during Shark Week, c'mon....EVERYONE loves Shark Week! Our TV never went to a different channel the entire week, 24/7...seriously. So....guess what his birthday theme was??? You guessed it, PONIES! No...................................................  SHARKS! 


 He had an awesome day!  We did just a family party since he already had one with his friends.

THIRD!....My baby girl, my youngest daughter, Hana, turned 16!!!  Sweet Sixteen ya'll!!  I thought I took it pretty hard with Hagan turning five and starting Kindergarten, but Hana's birthday hit me like a Mac Truck!  Since my older daughters have moved out and to Kansas, it made me realize I only have two years left with Hana in the house.  That makes me sad...until she breaks the rules again....hahahahahaha!  She loves elephants, so that's what I made for her :)


 She is also not a big cupcake/cake eater, so I bought her birthday muffins to start her birthday morning off right!  Later in the evening we celebrated with an ice cream cake and then she hosted a dinner party at a local Japanese steakhouse, sans her parents.  We weren't invited :) 

One of these days I plan to do an actual craft or DIY and share it with you...if I can ever stop feeling sorry for myself about my bf moving, my son starting Kindergarten and won't kiss me at the school, and my daughter growing up and moving out soon.....


Monday, July 23, 2012

Hagan's Fake Birthday: Part II


In case you didn't see or read Part I (the making of party decor), you can find it here!  How cute is this first pic?  Sarah B.'s daughter, Sophia (the other fake birthday girl), wanted to help set up the party, so we sent her outside to take pictures of the dino and kitty tracks!


The party!  Sarah B. has an awesome backyard, it's HUGE!  Perfect for a large birthday party!  The downside?  We had a monsoon the night before, this after a week of almost non-stop rain, did not make for a pretty yard, but a drenched, water-logged yard.  Thank goodness Sarah B. had lots of tarps!
The food table!  We offered little snacks since our party was from 10am-noon.  We wanted the party to be over before the heat REALLY set in!  Donuts, fruit, veggies and chips were just enough!  See the tablecloth?  Sarah B. made that with two vinyl tablecloths and the original use was going to be an awning over the food table.  Time and logistics kicked our butt on that one!  We ran out of time, so we decided to use it as a tablecloth.  Adorable!
 The drink and dessert table.  I loved our cupcake toppers and cake bunting! 
We each made our kid their own "smash" cake (even though they were fakingly turning 5) since we served cupcakes.  When do you stop making an individual cake for your child?  I still like the idea just because when they blow out the candles, they are not spitting all over the entire cake for everyone!!  Am I, right???  Think back on the birthday parties you've gone to and imagine how many little pieces of spittle you have consumed.  Ew.  I just gagged myself....
Moving on ;)  Check out how we kept the cupcake wrappers and toppers matching, but they each have their own theme.....We used scalloped edges on Sophia's stuff and a zig zag edge on Hagan's.

The gift table.  Sarah B. came up with the brillant idea of providing envelopes and asking each guests to fill it out with name and address.  She made a cute sign and I put it in my adorable frame from Ikea.
Dinosaur Hagan with one of the photo props!  The kids love putting on the props for pictures!
It is hard to see the actual banners, but for the joint "happy birthday," we combined scalloped and zig zag circles and used all the colors of the party.
For the individual name banners we used zig zag edges on Hagan's with the colors aqua, lime green and red.
 Sophia's banner was scalloped edges with aqua, lime green and hot pink.
Our photobooth sign that we got from here.  Sarah B. had this old trunk that we filled with dress up items that we already had or bought from the Dollar Tree.  The kids really loved this.  I'll be honest though, even though we set up a camera on a tripod, it was hard to remember to take pics....we should have delegated that out to another parent!

This is the pinata made from stone and unbreakable.  Not really, but after 30 minutes of the kids trying to break it open, that's what it seemed like!  Finally, we just let an older boy go to town on it until it was "leaking" {haha}, then let Hagan have the final swing.
 See?  Just a pizza and Bud Light box....pretty damn sturdy!  {AND super easy to make!}
Hagan with some of his guests.  It was so hot that day and especially hot in the bounce house.  All the kids look like they jumped into a pool, they were so soaked!  And this was WAY before noon!  They had so much fun and I'm loving all the Kool-aid smiles!!
I'm now finished sharing Hagan's fake birthday....after all, his REAL birthday is coming up in 24 days...but who's counting?  If you would like any other party details, or if you would like to order a party kit, contact me!


Wednesday, July 18, 2012

Hagan's Fake Birthday: Part I

I think this is my favorite picture from Hagan's fake birthday!  How adorable is that Kool-aid grin?  BTW, my son will turn five in August and on this day was his first time to ever have Kool-aid!  I think he drank the entire gallon!

My awesome, sweet, other half of my brain friend, Sarah B., and I planned a "fake" birthday party for my son, Hagan, and her daughter, Sophia (whose real birthdays are Aug. 16th and 17th) so that they could celebrate with all their preschool friends.  Sadly, Sarah B. and family are moving at the end of this month (but I don't want to talk about it :( ) and she wanted all of Sophia's friends together one last time before the move. 

We planned the party together and made the decorations together. Even though Hagan wanted dinos and Sophie wanted Hello Kitty, I think we did a fabulous job of coordinating the two themes! I don't have many pictures of all the stuff we made, but I have a few to share.

The cute dino-culars were made from toilet paper rolls, scrapbook paper and ribbon.  I got the idea from them here.  They were super easy and cost me NOTHING!!
The next giftbag item we made were dino eggs.  Sarah B. found the idea on the internet, but now I can not find the exact one we used, but basically it was a playdough recipe that we added washed coffee grounds and paint to create an egg like color.  (Check out Lisa's dinosaur fossils/eggs from Creative Raisins.  I LOVE the color of her eggs much better!)  These are the little guys buried inside the eggs.  I purchased them from the Dollar Tree.
Sarah B. made the bag labels for me and I think they look so cool in their packages!  The kids loved cracking open the eggs!
Sorry for this blurry picture, but this was the making of Hagan's pinata.  In tomorrow's post, you will be able to see the inside of the pinata.  It's made from pizza and beer boxes.  I came up with the idea to ruffle the crepe paper around the edges and center.  Sarah B. is the master pinata maker, so I was pretty happy to contribute my idea :)
 Burning my fingers for the love of my son and his pinata!  Hahahaha!
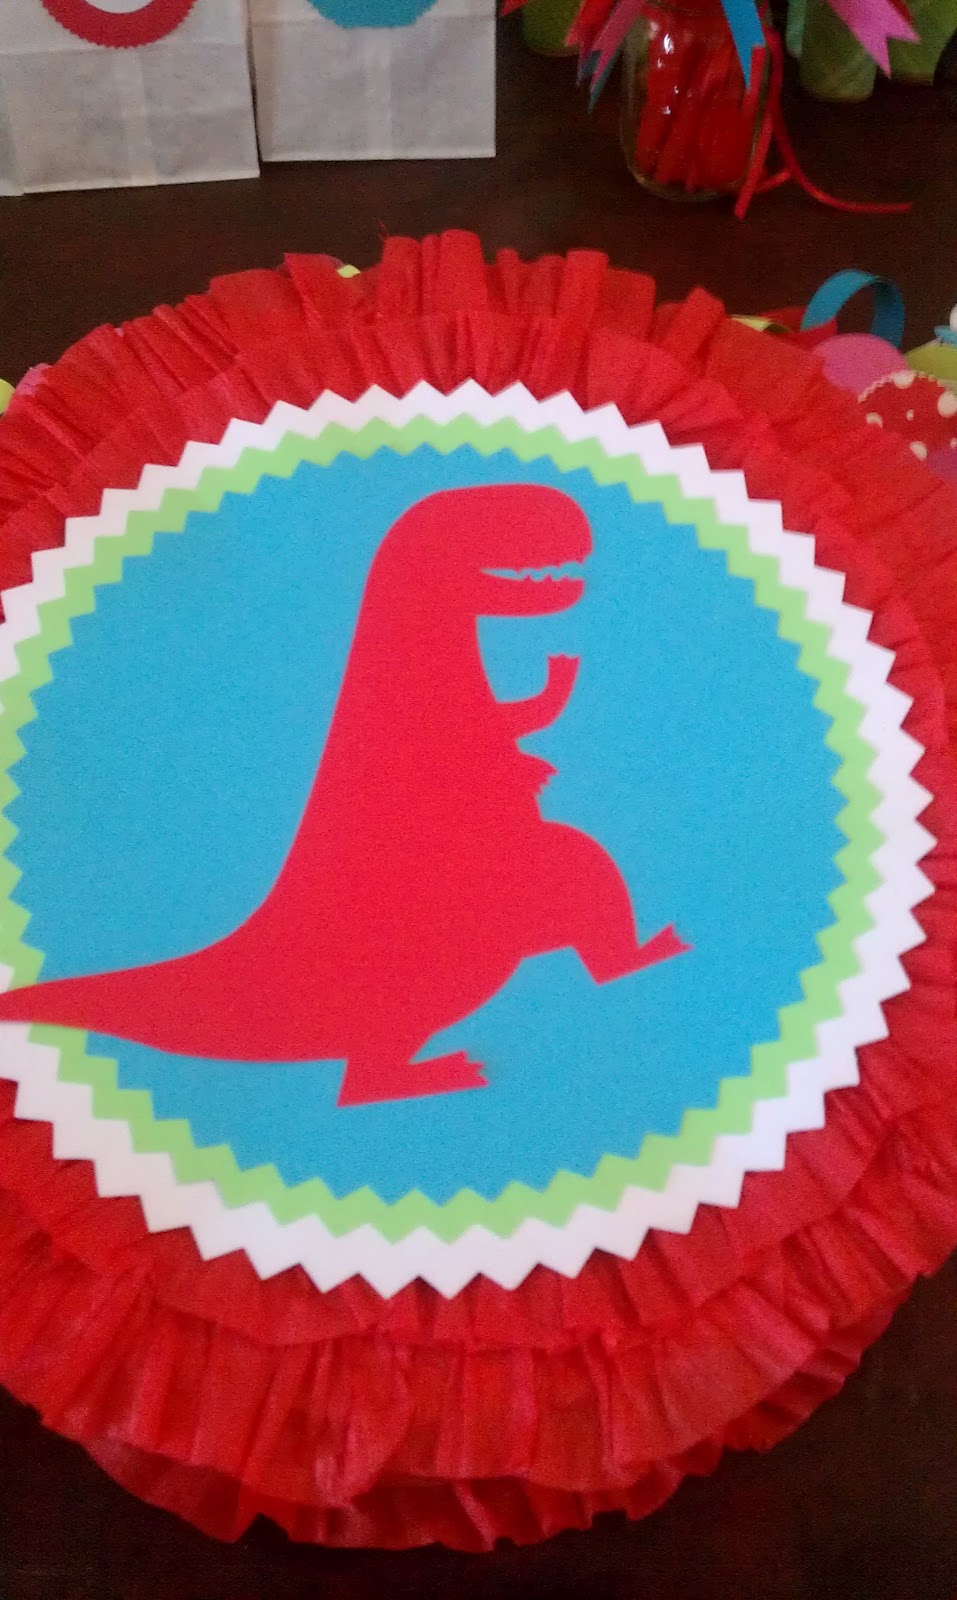
The finished pinata!  Sophie's was exactly the same, but with a Hello Kitty head in the middle.  So easy to make your own pinatas....I hope I'll be able to make more in the future without Sarah B. here to do it for me!
Inside the pinata are more small dinos (like the ones in the eggs), small cars and lots of candy.  Everything was bought at the Dollar Tree.
For the giftbags I included, the dino eggs, bubbles, a dinosaur, pencils, a stick on mustache (because I'm still obssessed with those!) and some excavation tools.  I bought Dollar Tree paintbrushes and foldable toothbrushes that I painted and bound together with ribbon and a tag.  I got the idea for the tools here.
The finished gift bag!  I loved that the dino-culars hung from the side of the bag.  I think the kids loved our giftbags.  Sarah B.'s giftbags included Hello Kitty chapstick, bubbles and a super cute headband with kitty ears (made with Dollar Tree headbands and an old jacket!  I love her creativity!)  Luckily, I had a few extra giftbags because one of the girls at the party wanted a dino bag (and the Hello Kitty bag)!  Love that!

Well, that's all for today folks! I don't want to bore you with a ton of pictures all in one day :) The dino-culars and excavation tool links can also be found on my Pinterest board titled "Hagan's 5th Birthday." There are so many cute ideas for dino birthdays, take a look at my board and see if it inspires you to have a dino party!


Tuesday, July 17, 2012

Farmer's Market and My Nightmare

I had a really bad nightmare last night.  To keep it short; I set up my booth at a craft fair, eventually being summoned by five women to an apartment up grimy, scary stairs, where they all proceeded to yell at me.  I was told I could only sell paper items if I made the paper by hand.....then some other stuff happened and eventually the nightmare ending with me trying to swim away in a river, carrying a pair of Carhart pants full of rocks.  I'm still stumped by that part.....Anyway, during the dream I was outraged that I had to make my own paper!  What about the woman who sold quilts?  Did she have to make her own material???  I was very angry in my dream :)  This reminded me to tell you about my Farmer's Market experience.  Here's my booth, I thought it was set up pretty cute.
This is a picture of where and how I displayed my party kits.  I set up a mini party table that was adorable with popsical themed party kit.

 I ended up selling only one chicken wire frame.  The white one in the picture below.  I did give out lots of business cards!  Was it a failure?  I don't think so.  I learned that I need to focus on one "area," which will be my party kits and that I need to work on my people skills.  I'm not a pushy person (or one who likes to talk to strangers), so for me to approach potential clients, it took all my guts.  I was sick to death that morning with anxiety!

 However; after I had people coming down to look at the "Pinterest" booth, I kinda got a chip on my shoulder.  AND it was another booth holder, who I had purchased items from several times, that was calling my booth that!  I was into crafts and reusing items WAY before Pinterest was even around...I started this blog before I had even heard of Pinterest!  It kind of hurt my feelings, like they were saying, "She got all her ideas off Pinterest and anyone can do that."  No.  Not true.  Not everyone can create, recreate, dream, construct, what they see.  Right?? 

                                      Would that have bothered you?